
Luxury vinyl plank floors can look perfectly clean until sunlight hits them at the wrong angle. Suddenly, pale streaks appear across the kitchen. The surface looks cloudy, even though you mopped it an hour ago. Naturally, the first instinct is to grab the mop again. That can make matters worse.
To clean LVP floors without dull or cloudy residue, start with a dry microfiber mop or vacuum, then use a lightly damp mop with a pH-neutral cleaner approved for vinyl floors. Follow the product’s dilution instructions and remove any remaining residue with clean water. The goal is to preserve the factory finish, not add a new layer of shine.
The Floor-Care Rules Worth Remembering
A few details make a surprising difference to how LVP looks after a wash.
- Less cleaner is usually better. Excess solution can leave a visible film after the water evaporates.
- A dirty mop spreads residue. Replace the pad or rinse it thoroughly as soon as it becomes soiled.
- Waterproof doesn’t mean flood-proof. Standing water can reach seams or become trapped beneath the planks.
- Factory sheen matters. Matte LVP is supposed to look matte, even after a thorough clean.
One rule deserves particular emphasis: never assume a cleaner is safe simply because its label says it’s suitable for hard floors.
How to Clean LVP Floors, Step by Step
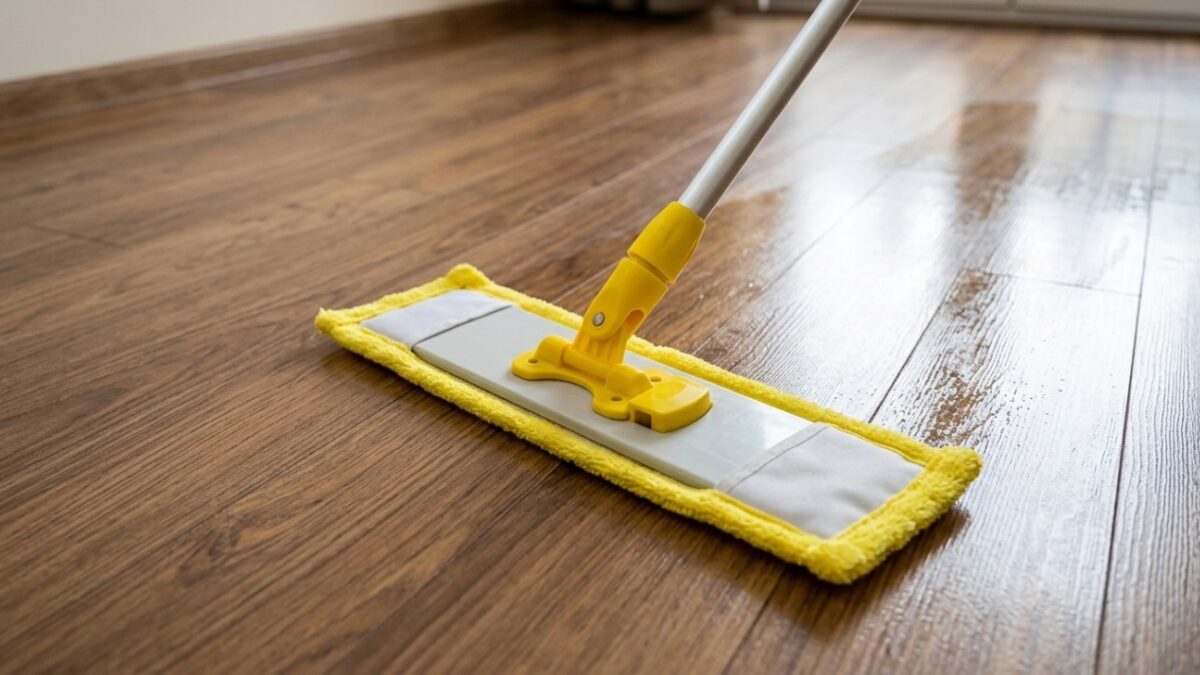
A good routine requires surprisingly little equipment. You’ll need a soft microfiber mop, a vacuum suitable for hard floors, and an approved vinyl floor cleaner. Keep a separate clean mop pad available for the final rinse.
1. Remove Loose Dirt Before You Add Water
Start along baseboards and beneath furniture. Use a soft broom or a vacuum without a rotating beater bar. Pay particular attention to kitchen entrances, where small particles of outdoor grit collect.
Grit dragged across LVP can cause fine scratches in the protective wear layer. Over time, repeated abrasion may leave high-traffic areas dull even after a thorough wash.
2. Use the Right Cleaner at the Right Strength
Check the floor manufacturer’s care guide first. Most major LVP brands recommend a nonabrasive, pH-neutral solution formulated for vinyl.
If the product is a concentrate, measure it according to the label. Never add an extra splash because the floor looks particularly dirty.
Our preference is a cleaner that leaves no polish or wax behind. Products advertised as shine restorers can produce uneven results on factory-finished vinyl.
3. Mop Small Areas With Minimal Water
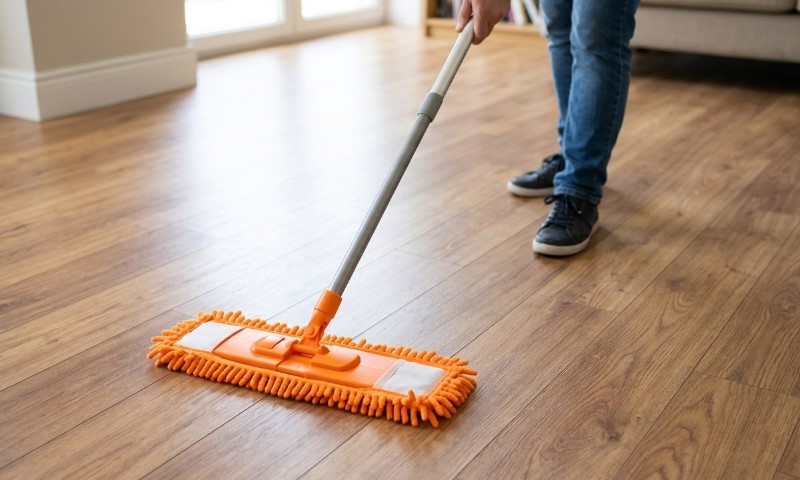
Dip the microfiber pad into the prepared solution and wring it thoroughly. It should feel damp without dripping.
Work across manageable sections of roughly four feet by four feet. Make gentle passes along the plank direction, especially on textured surfaces where dirt can settle into shallow grooves.
Don’t pour the solution directly onto the floor. A lightly damp mop provides enough contact for routine dirt removal.
4. Remove Residue and Let the Floor Dry
If your cleaner calls for a rinse, or you notice visible residue, go over the area with a fresh microfiber pad dampened with plain water.
Change the rinse water as soon as it becomes cloudy. Otherwise, you’ll deposit the same dirt across the next section.
Allow the floor to dry completely. A clean, dry microfiber cloth can remove isolated water marks near doorways or kitchen cabinets.
Why LVP Floors Look Cloudy After Mopping
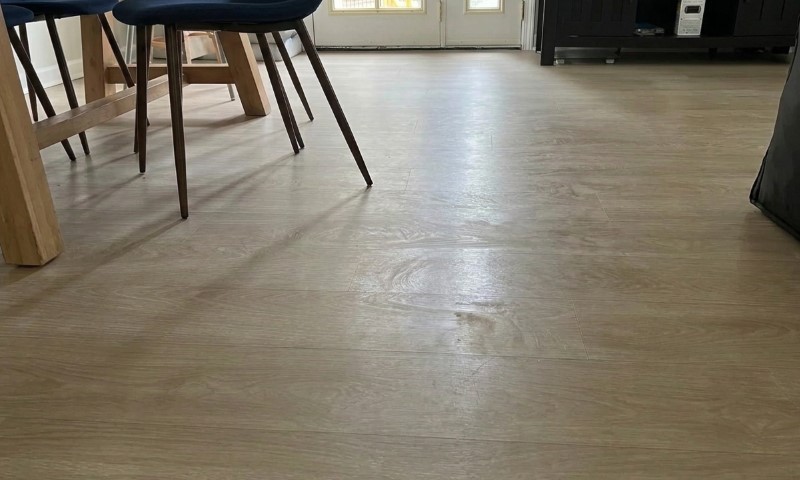
A white or gray haze often indicates cleaner residue. Detergents, treated dust mops, and floor polishes can leave deposits that become more obvious under strong light.
There’s another cause worth checking after home renovations. Fine drywall dust can form a stubborn cloudy film once it gets wet.
For a floor with visible haze, try a small test area first. Remove loose dirt, apply the approved neutral cleaner, and wipe gently with a clean microfiber pad. Finish with fresh water and let the area dry before you judge the result.
If the test patch looks better, repeat the process across the affected area. Persistent haze may need another pass.
A floor that remains dull after proper residue removal may have surface wear or damage to its finish. Ordinary cleaners cannot repair scratches in the wear layer.
What About Stubborn Spots and Scuff Marks?
A dried food spill usually responds to a damp microfiber cloth and gentle pressure. Let the moisture soften the residue briefly, then wipe and dry the surface.
For marks that resist ordinary care, some manufacturers permit isopropyl alcohol on a clean white cloth. Check the instructions for your exact floor before attempting spot treatment.
Avoid abrasive cleaning products and steam mops unless your particular product explicitly permits steam. Heat and harsh chemicals can affect the finish or other components of the floor.
A simple test on an inconspicuous plank is a sensible precaution before any unfamiliar cleaner reaches a large area.
Keep the Finish Clear Between Deep Cleans
LVP rarely needs an elaborate maintenance schedule. Regular dirt removal and prompt attention to spills do most of the work.
A weekly damp mop is a reasonable starting point for many homes. Busy kitchens may need more frequent spot care.
Use non-staining entrance mats to limit tracked-in grit. Felt protectors beneath furniture legs can also reduce scratches that eventually affect the floor’s appearance.
One final check is worth making before buying another floor product. Look at a clean plank in natural light and compare it with an area beneath a rarely moved piece of furniture. If both have the same low sheen, you’re probably seeing the original finish.
A clean LVP floor should look like the floor you bought. Extra gloss is rarely the answer. A clean mop, the correct solution, and a thorough rinse when needed will do far more to preserve its appearance.